Showing posts with label $1 stash. Show all posts

Wednesday, 21 May 2014

Ruffles and Tweed


A while ago I was given a box of fabric bits and pieces from a friend’s mother, who is now in her nineties and hasn’t sewn for years.   

As well as some lovely vintage prints she had started making herself a pair of trousers out of this wool.
It’s a heavy wool and almost a bit scratchy, but I love the tweedy look.  The lady is a lot smaller than me, so there was no way I was going to be able to simply complete the trousers for me, so I carefully unpicked the half made trousers and assessed the fabric that I was left with, with a view to making a skirt.

The pieces that I had weren’t wide enough to make a straight skirt, so I had to be a bit more creative.  The back was a simple fix – I put a curved godet in the centre back seam, drafted from my skirt block using the same technique that I used here.


Although it is a very subtle effect, I also added a little embroidery to the two back panels – just because I can!

At this point I stalled slightly, while I figured out what to do with the gap in the front.  Eventually I added a panel to the front lining and attached layer upon layer of stone coloured chiffon ruffles from the $1 stash.  It sort of looks as though I’ve vomited chiffon down the front of the skirt.  

Or maybe it’s just a cute play on the hard and soft of the tweed and the ruffles?

Here’s my dilemma:  When my daughter was living at home she would sometimes come home from school, look at my current project on the dummy and yell “STOP! Move away from the fabric Mum.”  This was her sign that I had gone, or was about to go, over the top.  With no resident daughter to rein me in I wonder whether I’ve gone too far with the ruffles and embroidery here?

What do you think? 

Monday, 14 April 2014

Sewing double... or triple


The Monthly Stitch challenge for April is "sewing double".  The exact interpetation of this wa left pretty open, so my first interpretation is sewing my version of a ready to wear, and sewing two garments from the same pattern:
I saw this T-shirt, over-priced, in Farmers.

I had a go and drafting a copy and came up with a more-or-less wearable muslin.

The embroidery is misplaced and not properly interfaced, but I was happy that the pattern incorporated all the features that I loved about the Farmers’ version.

I had plenty of black knit from the $1 stash, but didn’t have anything for the feature print.  I found a stretch mesh.  It has a suitable pattern, but it is see through.  I faced the first version, but I lined the next one with a lightweight black knit, which solve the see-through problem, and meant that I didn’t need facing. Other than that, I made it the same as the wearable muslin.

I think that this is reasonable copy of the Farmers’ T and I can see it working well with black or grey in a professional environment, and the muslin makes a flattering casual top.


Thursday, 10 April 2014

Copying RTW


One of the many sewing related topics that came up at the recent meet up for Auckland Sewing Bloggers was our behaviour in clothes shops.  I was glad to hear that I wasn’t the only sewer who lurks in clothes shops looking at RTW with a view to making a copy.
I was on one of these inspiration hunts when I spotted this T-Shirt in Farmers.


I quite like the use of the two fabrics, and curvy shapes.  I also wear a lot of black and white, so I could see this top featuring regularly in my wardrobe.

What I didn’t like was the price tag $69.99! WTF!  I mean, seventy bucks for a T shirt!  Even if I could afford it, I couldn’t justify that much on a single T shirt, however nice.


So, of course, I set about making my own version.

I started with a pattern from Burda magazine - January 2009.  It has the raglan sleeves not dissimilar to the RTW top, and I’ve made it several times before, so I know it fits. 


I sat down with all the essential supplies


Yes, the coffee is an essential supply!

NOTE: all these pattern pieces have NO seam allowance on them)
The sleeve on the Burda top is gathered, which I didn’t want on this version, so I pinned the excess fabric out…


And laid the piece out as flat as I could and traced it (both the original and the design was aiming for use stretch fabric, so I didn’t need to be too concerned about losing the shoulder shape)


I then made a copy of the front piece (minus the markings for an opening) and cut it into two pieces, roughly like the RTW one.   


Then I repeated the exercise on the back piece

To make the pattern piece for the facing I placed all the pieces together at the relevant seams and traced the curve, marking the centre front as a fold.  


Since this was a bit of a hack, I didn’t want to use expensive fabric to try out this new pattern, so I dived into my $1 stash and found a striped T shirting, and a plain grey one.  

I added seam allowances as I cut and added an extra 1cm on the inside of the facing curve, effectively making it slightly smaller, so I would pull towards the inside of the garment

Once I had made it up I felt that the front neckline was a little high, so I cut it a few cm down, and did the same to the centre front pattern piece.
I also added a raven with the embroidery machine because, well, because I can.

Overall I’m please with the result, and will definitely be looking for a nice black and white graphic print to make a more formal looking one for the monthly stitch Sewing Double Challenge, or I guess if I don't find the right fabric in time it could always be Sew Stretchy for May.

There are several things I will change next time:

  • I managed to get the placement of the raven a bit off, so I have a raven flying across my boob. 
  •  I still have to get better at stabilising knits for the machine embroidery.

Despite these two issues, I feel that I have a workable pattern for a “real” copy, which I probably won't embellish anyway

Monday, 24 March 2014

Viewers' Choice


MissBossy Patterns was a little indecisive about her choice, but I’m pretty sure that what she wanted was this Guy LaRoche jacket.   

Since I am defiantly sewing myself a new working wardrobe (even though I don’t have a job) this fits nicely into my plans.  I bought the pattern several years ago, because I loved the curved front on the jacket.  It is only a three quarter sleeve, and a rather loose sleeve design, so it’s not a cold weather jacket.  For me that was a plus as Auckland only gets a couple of months of true winter weather, and even then, it’s not honestly cold.  Much as though I love jackets, they don’t get as much wear as they did when I lived in the UK.

I used a rather plain fabric; a navy blue poly cotton with a reasonable amount of body.  I didn’t want the fabric to overpower the curved lines.  So that it wouldn’t be too plain, I added piping in a grey satin which I had left over from a high school ball gown for my daughter.  I had quite a bit left over, so I used the same grey satin for the lining.


The pattern went together quite easily, although getting the corners right on the side panels took a little time.  It’s not put together like any other jacket I’ve made.  The sleeves are kimono, rather than set in, and there is a side panel that goes from the hem, under the arm to the end of the sleeve.   

I probably won’t use this pattern again, but only because it is a distinctive design so there probably isn’t room in my life for two of them.


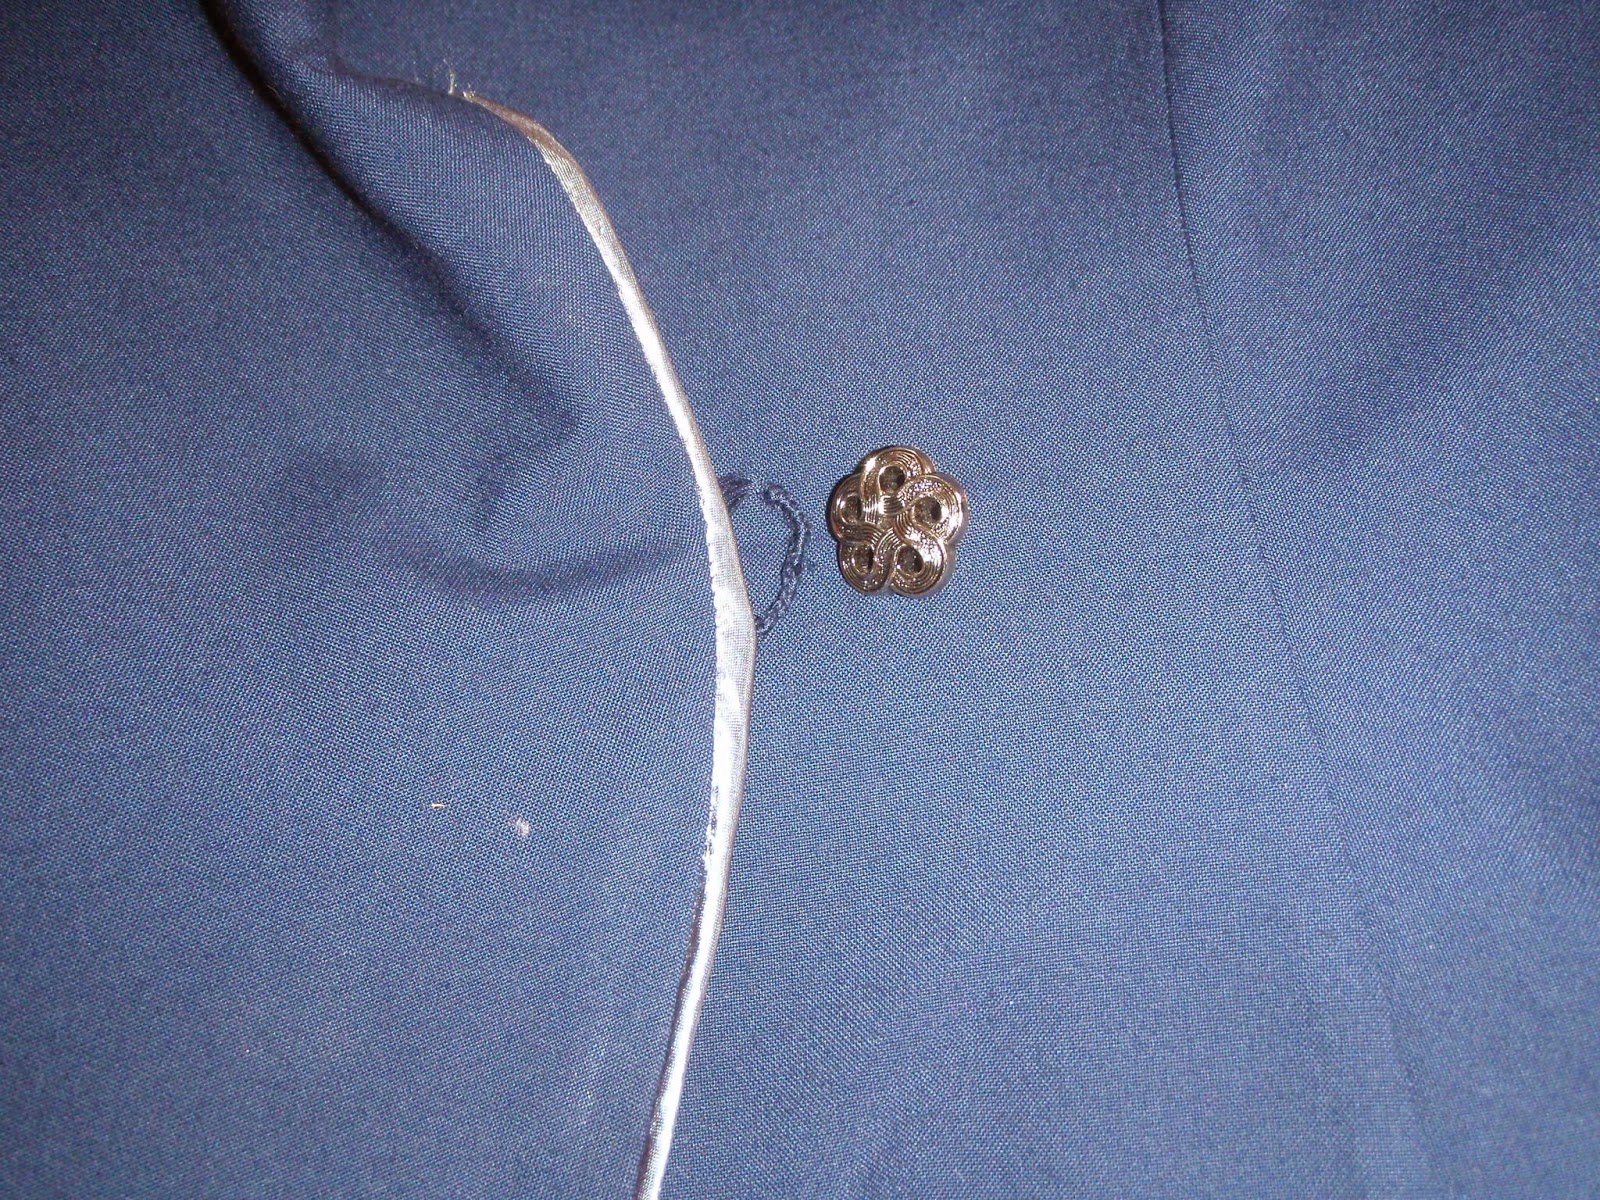
The pattern calls for a press stud closure, but I felt that it would look a little amateur with sewn on studs, so I placed a single button on the left side, and a crocheted loop on the right side, which is hardly visible. 


The finished garment is not as striking as I anticipated, and I actually prefer the look with that beloved curved collar sort of flopped down.  


That said, it’s a very usable jacket, and a little different from the standard corporate navy blue blazer.

I actually wore it to an interview last week (although I didn’t get the job :( ) 

I also made a blue and grey dress to wear with it, using more of the same navy and a grey light weight wool blend that was in the $1 stash.  There wasn't enough to do much with, but enough to just do the centre panels.  I used one of my standard patterns, which I bought in the late ninties
I'm pretty sure that this is out of print now, but I've seriously got my money's worth out of this pattern. I just did a quick count in my wardrobe and I still have three of this jacket, and five dresses.  I know there are have been more which have since been culled.  The long V neck dress is my go-to princess line dress.  It's a really simple dress, which is carried by the fabric or accessories.  I've made it up in plain fabrics, prints and one previous forray into clour blocking in black and white.  I have tweaked and fitted this dress to the point that I can sew it up in a couple of hours (really, it's that simple).

Unfortunately I recently had a small accident while diving without my wet suit jacket.  I was bashed against some rocks and grazed both my upper arms.  While this was a very minor mis-hap resulting a few surface wounds, my arms did look a bit of a mess.  

Since I wanted to be remembered as the woman who was perfect for the job, rather than the woman who looked as though she'd been attacked by a shark, I wanted sleeves on this dress, so I tweaked my standard sleeve block to fit this dress.

 Although it was a quick and simple make, I can see this dress getting a lot of use.  It's really comfortable, even in hot weather, easy to wear, but actually looks quite classy.  Of course, the vertical colour blocking is also very slimming.  Overall, I felt pretty smart for my interview (even if it didn't do me any good).